DIY Sunburst Mirror


I know I'm way late to the DIY Sunburst Mirror party, but hey better late than never. Right? Right.  I bought a sunburst mirror about 8 years ago when my local Bombay store was going out of business. I love the overall size of it and especially the size of the mirror. 


Recently, I've been looking to add one to my office, unfortunately they are a little pricey.  They range anywhere from $50-$200 and more. I'm not looking to spend near that much.  So when one is looking to do something cheaper than retail...what do we do?? We turn to blog land!  I found some awesome DIY Sunburst Mirrors!


Via Centsational Girl

Via The Frugal Homemaker

Via 9th and Mayne
I liked the color and style of the one from 9th and Mayne, so I bought the materials to replicate it.  As I'm laying out the floral rings and shims, I wasn't feeling the design and felt like I wanted something with more of a clean line.  So thinking about the way The Frugal Homemaker used a piece of scrap wood to secure the paint sticks and mirror, I decided to tweak her design and cut out a circle, in the plywood, the diameter of the shims and mirror.  I will explain as we go.

I bought a plastic framed mirror from the dollar store $1.79.  

I didn't sand, just primed.

For the record, when beginning a project, it may be helpful to sit down and make a list of supplies and actually have somewhat of a plan before diving in head first.  Of course, I didn't have a plan nor did I have what I needed to draw a circle of this size.  I laid out the mirror and shims to determine what the diameter should be.  At this point I haven't considered how I am going to draw the circle on the plywood.  So, I scrambled around my garage and decided to use leftover piping from my DIY project a few weeks ago as my protractor...not scientific and certainly not accurate! This is now a Shabby Chic DIY :)

Behold what I did!


After cutting out the circle, I glued down the mirror with Liquid Nails.  Then I laid the shims on the board with the thick part next to the mirror and I used a pencil to mark where I would need to cut off the excess at the thinner part.  This is where the accuracy of a perfect circle is important because I had to measure every shim and cut 37 of them individually.  Not the worst thing but I'm ready to get it done!  I lightly sanded the shims, eyeballed the placement and started gluing them using Liquid Nails. 


To stain, I used Minwax PolyShades in Espresso.


I didn't know if the stain would 'take' to the primed mirror frame, but that is what DIY is all about...the adventure!
1st Coat.  The stain on the mirror frame is looking good!
I applied 3 coats of stain, since I wanted a deeper look and the plywood was soaking it up.
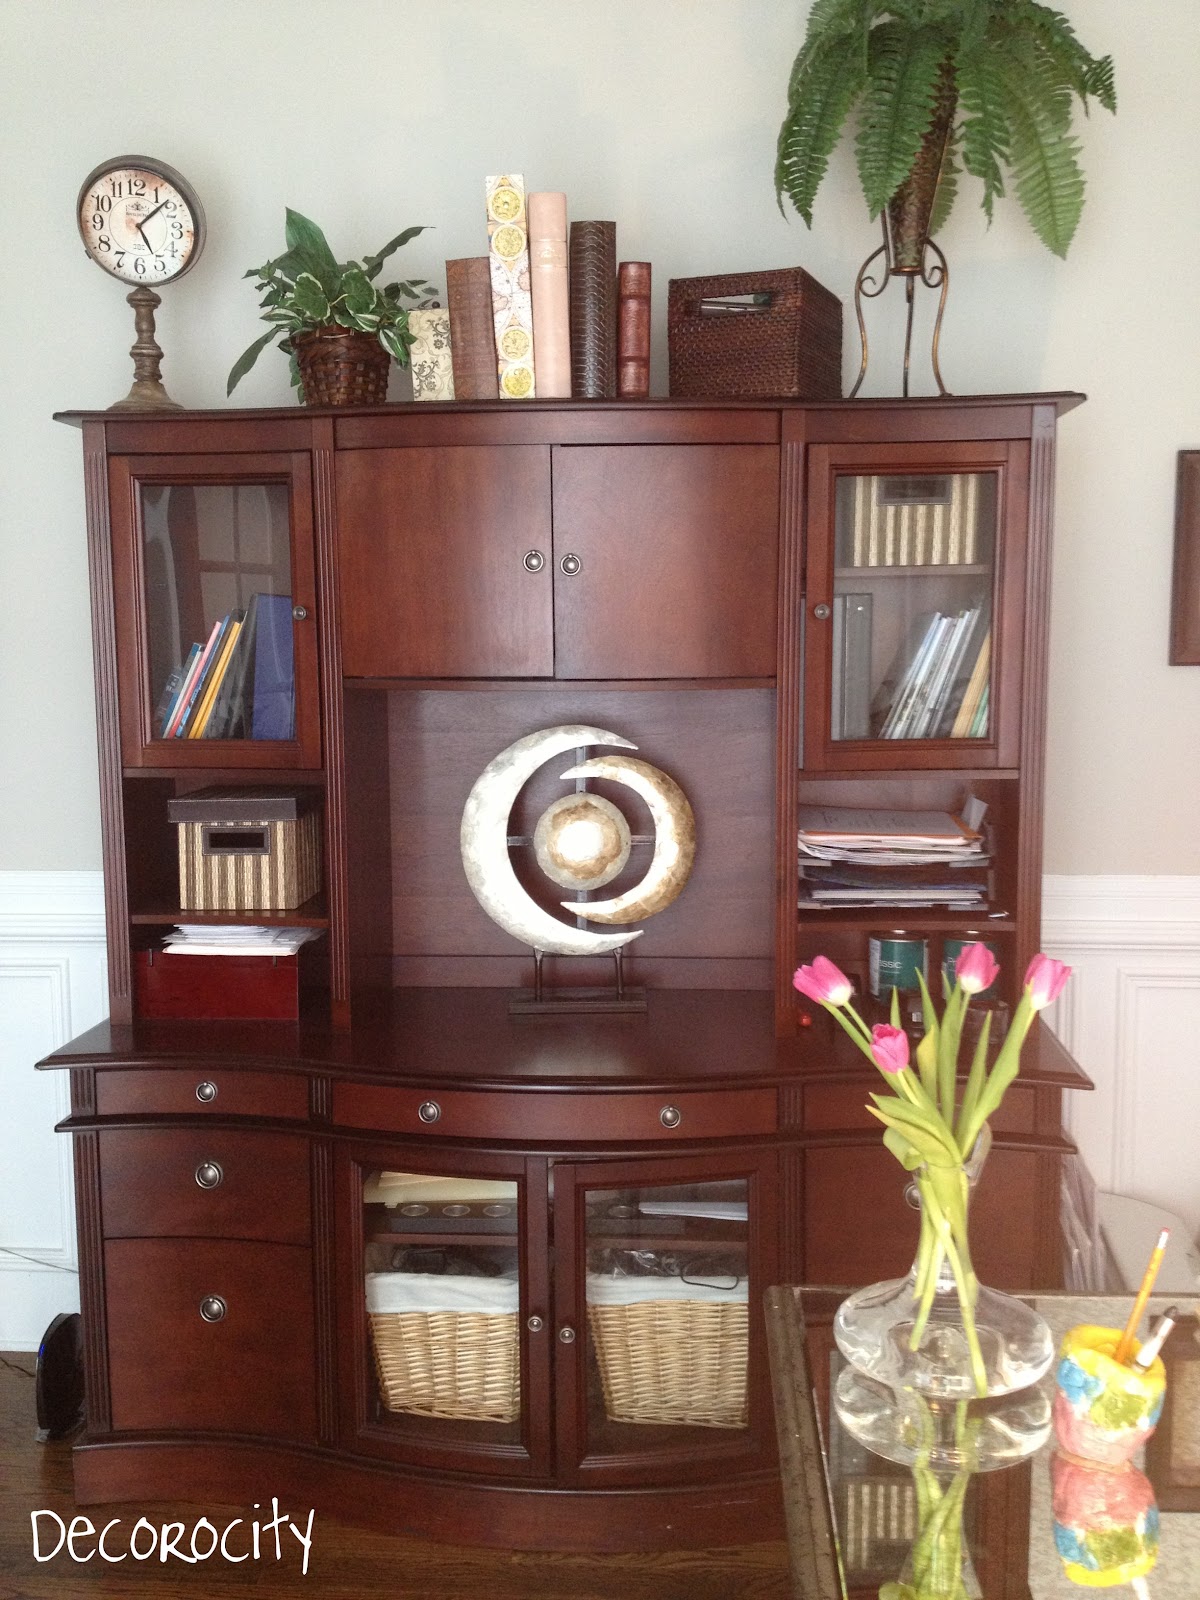
All done and I love it!!   There are so many ways to DIY a sunburst mirror so not sure if anyone has done it like I did but I couldn't be happier with it :)  It looks so nice against my grey walls and the thrift store piece of furniture I restored (I will be posting it soon).


Linked up:

Mirrored Desk....Office update

I definitely am "agreeable" to grey :)  The color is so refreshing, clean and crisp.  It is not blue at all.  The different shades of grey throughout the day are all beautiful.  I really can't say enough about not having to repaint this room!

I bought a mirrored desk!!  It did not break the bank....woot woot.  Seriously, I got a great deal! I couldn't believe it. It's the Lusetta Mirrored Desk from Joss and Main.  It arrived a week early!  Hubs didn't know the desk was coming and that I was painting.  He walked in after work and saw it "ready".  Whew, he loved it :)  I'm not going to tell him right now that ALL of the gold walls need to be painted, as I still love being married to him!  


See the pen holder my little peanut made for me.....love my baby!

Yes that is a wine decanter!


I am so inspired sitting in the office now... I may have to write a book! ha ha

Mirrored Desks

Now that I am deep into home office makeover, I'm thinking a new desk would be nice.  I have been crazy, in love, with mirrored furniture for quite some time...and what is better than to have a mirrored desk in the office!  Everything I have seen is expensive and definitely not in my budget.  I love being married to my awesome husband so I must'n shock his system with a pricey piece of furniture that I don't need since we already have a desk  that I need.  I found a few that I like but I am not liking the price :(


Lusetta Mirrored Desk is in the budget if I can buy it quick enough!

Via Houzz

This design is so pretty and very french looking...ooh la la :)  However, I think the desk is too traditional for my taste.
I really like the clean lines and pewter accent and of course the gorgeous crystal knobs.  The drawers are a bit too small for my constant clutter.


The search continues......

Conversation Room

Before we moved in, I unfortunately did not take pictures of the Conversation Room (The name came about when our boys were all in elementary school, in our old house.  The only thing that could take place in the conversation room are conversations! No running, throwing balls, eating, drinking, yelling, jumping...you get the idea.  It's where we would sit and talk about the day, feelings about disagreements or happy feelings etc.)  So here is the Conversation Room all moved in.  What do you think?


Oh look.....my bedroom dresser!

In the morning, the sunlight comes through the windows.  The sun shines right on these babies and the walls shine bright like diamonds!!


And the beautiful Armoire....and sliders we haven't removed!!

The dresser and armoire, WAS our bedroom furniture!  We also HAD a tall sleigh bed.  I speak in past tense because I DO NOT know or understand how the movers could lose the headboard to our bed.  Hello it's like 8 feet wide by 7 feet tall!  I was upset about the loss but decided to make lemonade out of lemons.  So our bedroom furniture is now our Conversation Room furniture.
Related Posts Plugin for WordPress, Blogger...